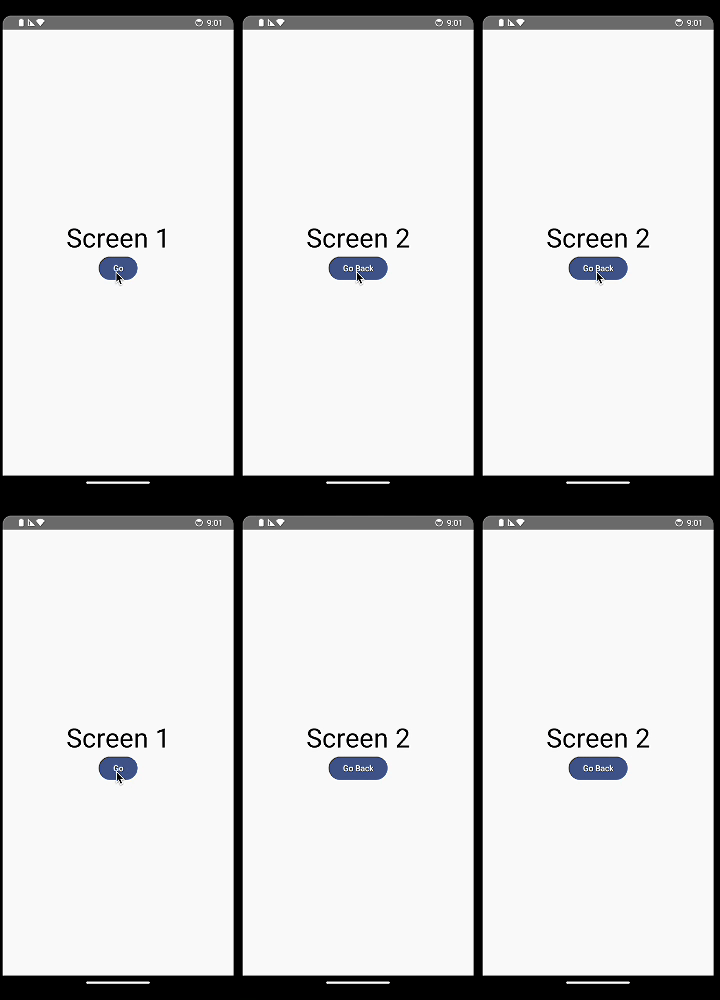
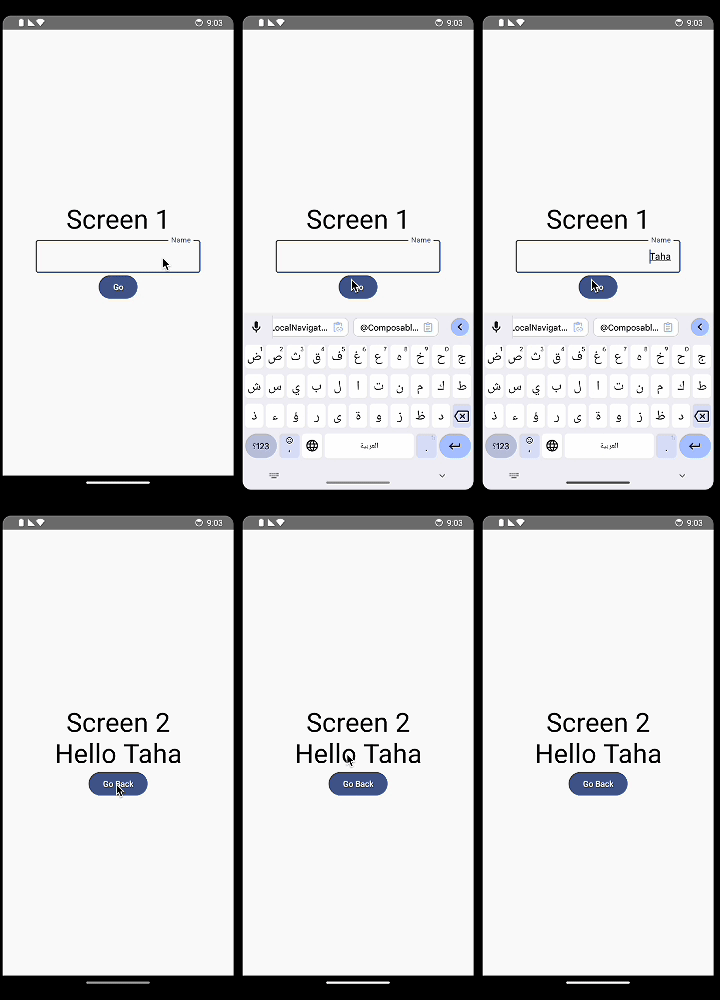
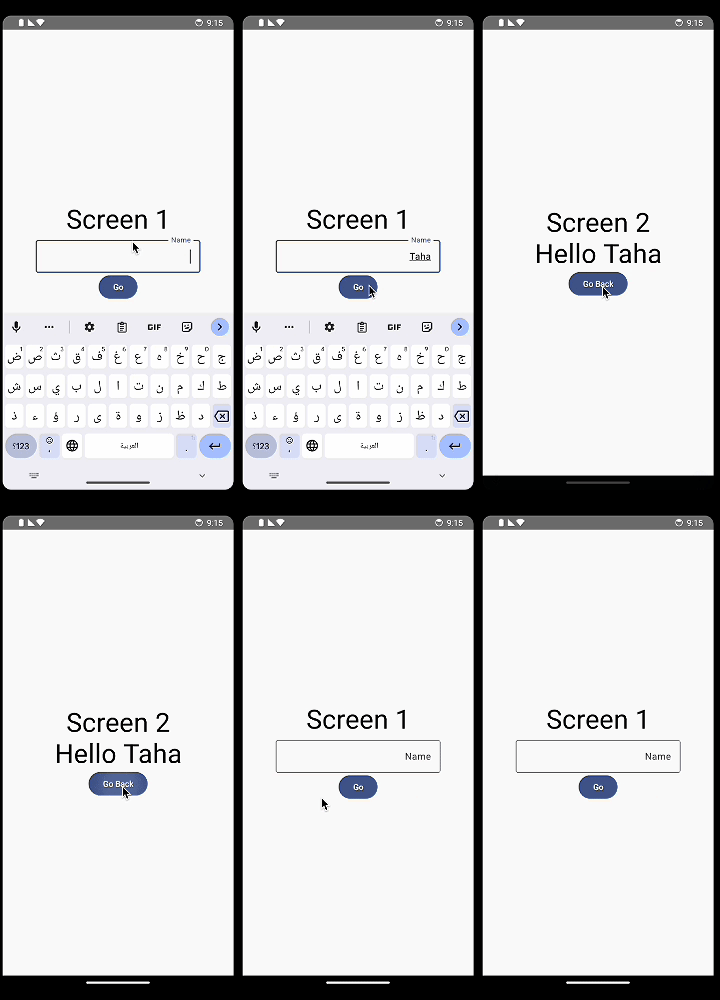
Voyager is one of the easiest navigation libraries out there, it super easy to setup, customizable and provides type safety when passing arguments through Data Classes. Voyager can be used both in native android projects and in Kotlin Multi-Platform projects that use Compose multiplatform for UI.
Setup
First we need to add the voyager dependency to our module’s build.gradle file. add the dependencies and sync gradle.
dependencies {
    //latest version: https://github.com/adrielcafe/voyager/releases
    val voyagerVersion = "1.1.0-beta02"

    // Multiplatform
    // Navigator
    implementation("cafe.adriel.voyager:voyager-navigator:$voyagerVersion")

    // Transitions (optional)
    implementation("cafe.adriel.voyager:voyager-transitions:$voyagerVersion")
}
Preparing our screen
When using voyager all your navigation destinations should be in a Class, object or Data Class that implements ‘cafe.adriel.voyager.core.screen.Screen’, then we need to overwite the content function and put our screen content there
import cafe.adriel.voyager.core.screen.Screen
import cafe.adriel.voyager.navigator.LocalNavigator
import cafe.adriel.voyager.navigator.currentOrThrow

class ScreenOne(): Screen {

    @Composable
    override fun Content() {
        ScreenOneContent() // <- screen content here
    }

}
Pro tip: You can create a live template to create a voyager screen faster
Defining the Navigator
Navigator is the function responsible for defining our start screen and some other functionalities such as handeling our backstack, lifecycle and onBackPressed. but for simplicity and since we won’t need any other configuration we’re just going to define our start destination in our Navigator which is the minimum required argument to setup it up.
we will define our navigator in the setContent block in MainActivity.kt
        setContent {
            DemoClassTheme {
                Navigator(ScreenOne())
            }
        }
Navigating
we would like to navigate to ScreenTwo when we click the ‘Go’ button on ScreenOne, for that we would call a very handy composition local variable that we can access anywhere in our compose code called ‘LocalNavigator’ we have multiple options to choose from but i personally prefere the .currentOrThrow option since i would like to force my app to crash if there is no navigator (which should never happen since from the verystarting point of my app the Navigator is setup correctly) rather than have the navigator do nothing when it is null.
We’ll use the push function to navigate to ScreenTwo
@Composable
fun ScreenOneContent(modifier: Modifier = Modifier) {
    val navigator = LocalNavigator.currentOrThrow  // <- access voyager navigator
    Column(horizontalAlignment = Alignment.CenterHorizontally, verticalArrangement = Arrangement.Center, modifier = Modifier.fillMaxSize()) {
        Text(text = "Screen 1", fontSize = 45.sp)
        Button(onClick = {
            navigator.push(ScreenTwo()) // <- Navigation
        }) {
            Text(text = "Go")
        }
    }
}
In ScreenTwo we want to navigate back so we’ll use the .pop() function
@Composable
fun ScreenTwoContent(modifier: Modifier = Modifier) {
    val navigator = LocalNavigator.currentOrThrow
    Column(
        horizontalAlignment = Alignment.CenterHorizontally,
        verticalArrangement = Arrangement.Center,
        modifier = Modifier.fillMaxSize()
    ) {
        Text(text = "Screen 2", fontSize = 45.sp)
        Button(onClick = { navigator.pop() }) {
            Text(text = "Go Back")
        }
    }
}
That’s it! we have succesfully setup navigation in our app.

the source code for this part can be found here
Passing parameters
To pass parameters simply define our screen as a data class, let’s create a string called name in ScreenOne and pass it to ScreenTwo
class ScreenOne(): Screen {

    @Composable
    override fun Content() {
        ScreenOneContent() // <- screen content here
    }

}

@Composable
fun ScreenOneContent(modifier: Modifier = Modifier) {
    val navigator = LocalNavigator.currentOrThrow  // <- access voyager navigator
    var text by remember { mutableStateOf("") }
    Column(horizontalAlignment = Alignment.CenterHorizontally, verticalArrangement = Arrangement.Center, modifier = Modifier.fillMaxSize()) {
        Text(text = "Screen 1", fontSize = 45.sp)
        OutlinedTextField(value = text, onValueChange = {text = it}, label = { Text("Name") })
        Button(onClick = {
            navigator.push(ScreenTwo(name = text)) // <- Navigation
        }) {
            Text(text = "Go")
        }
    }
}
data class ScreenTwo(val name: String) : Screen {
@Composable
override fun Content() {
ScreenTwoContent(name = name)
}
}
@Composable
fun ScreenTwoContent(modifier: Modifier = Modifier, name: String) {
val navigator = LocalNavigator.currentOrThrow
Column(
horizontalAlignment = Alignment.CenterHorizontally,
verticalArrangement = Arrangement.Center,
modifier = Modifier.fillMaxSize()
) {
Text(text = "Screen 2", fontSize = 45.sp)
Text(text = "Hello $name", fontSize = 45.sp)
Button(onClick = { navigator.pop() }) {
Text(text = "Go Back")
}
}
}
the source code for this part can be found here
Adding Transition Effect
To add transitions we simply need to add our transition to the navigator, Voyager comes preloaded with 3 types on transitions, Slide, Fade and Scale for this example we’ll use Slide.
        setContent {
            DemoClassTheme {
                Navigator(screen = ScreenOne(),
                    disposeBehavior = NavigatorDisposeBehavior(disposeSteps = false),){navigator ->
                    SlideTransition(
                        navigator = navigator,
                        disposeScreenAfterTransitionEnd = true
                    )
                }
            }
        }
The NavigatorDisposeBehavior and disposeScreenAfter parameter are recommended by Voyager to avoid a known bug and avoid memory leaks and crashes, more info in the docs.

the source code for this part can be found here
That’s it leave ur questions in the comments if you have any and until next time, peace!.

نوارة هندسة